Quick Start Guide
CVD Portal helps manufacturers meet the EU Cyber Resilience Act's coordinated vulnerability disclosure obligations (CRA Annex I Part II point 5). It gives your company a branded, public vulnerability disclosure portal, a submissions inbox to triage reports, and tooling for advisories and compliance evidence. This guide takes you live in six steps. The first task after signup is your security contact and your Article 14 details, because Article 14 reporting applies from 11 September 2026.
The four CRA steps in the dashboard
Advisors give manufacturers four CRA steps in the same order. The Get started checklist on the dashboard, the CVD Readiness page and the support assistant use these step names.
| Step | Free entry | Paid step | Applies from |
|---|---|---|---|
| 1. Scope and classify | Product classifier | Compliance plan, product classification | 11 December 2027 |
| 2. Gap analysis | CRA self-assessment | Compliance plan, risk assessment and Annex I gap analysis | 11 December 2027 |
| 3. Vulnerability handling and reporting | Disclosure page and security.txt | Reporting plan, Article 14 workflow | 11 September 2026. Applies now |
| 4. SBOM | SBOM validator | Reporting plan, SBOM registry | 11 December 2027 |
Article 71(2) of the CRA sets the two dates. Article 14 applies from 11 September 2026. The rest of the Regulation applies from 11 December 2027. Article 14 reporting already applies, so the checklist gives you step 3 first. Then it gives you steps 1, 2 and 4 in order.
1. Create your account
Sign up with email or with a Google, GitHub or Microsoft account. For an email sign-up, we send a verification link to confirm your address. Public email domains such as gmail.com cannot be used to create new accounts, which prevents brand impersonation. We make your first company name from your email domain, for example "Acme Corp" from acme-corp.com. You check it after your first sign-in.
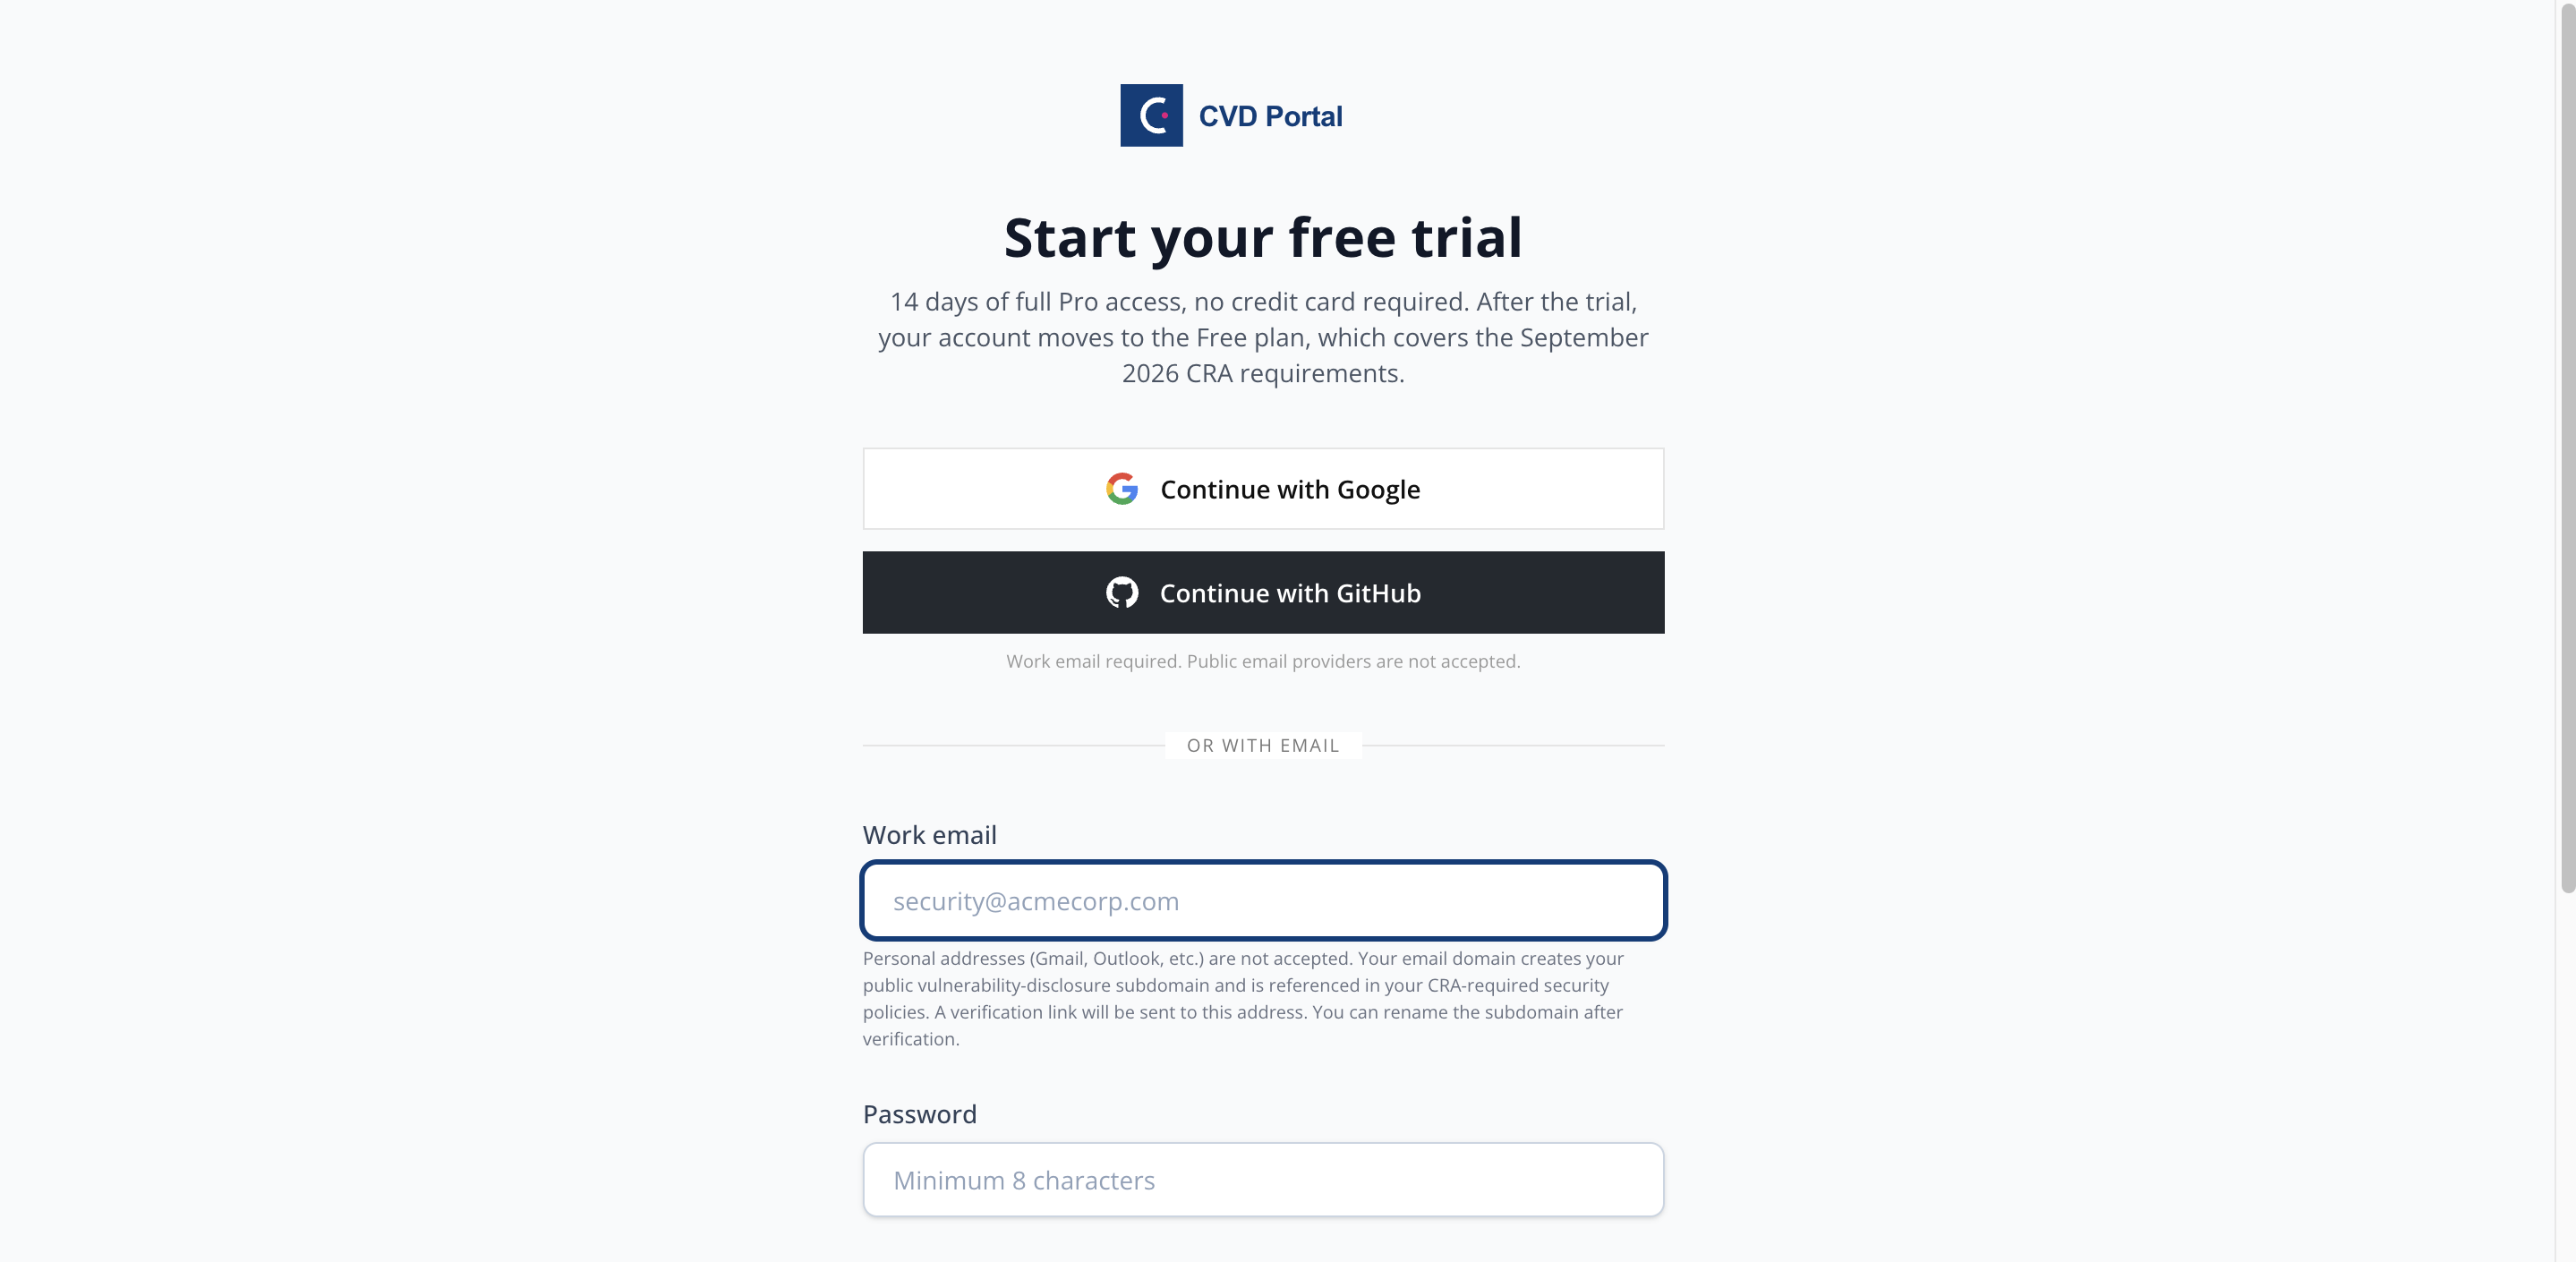
To let an AI agent guide you, click Copy for AI agent on the register page and paste the text into a browser agent such as Claude in Chrome. The agent fills in your work email. You type the password, accept the Terms and choose email reminders yourself. The agent stops if the page shows an error.
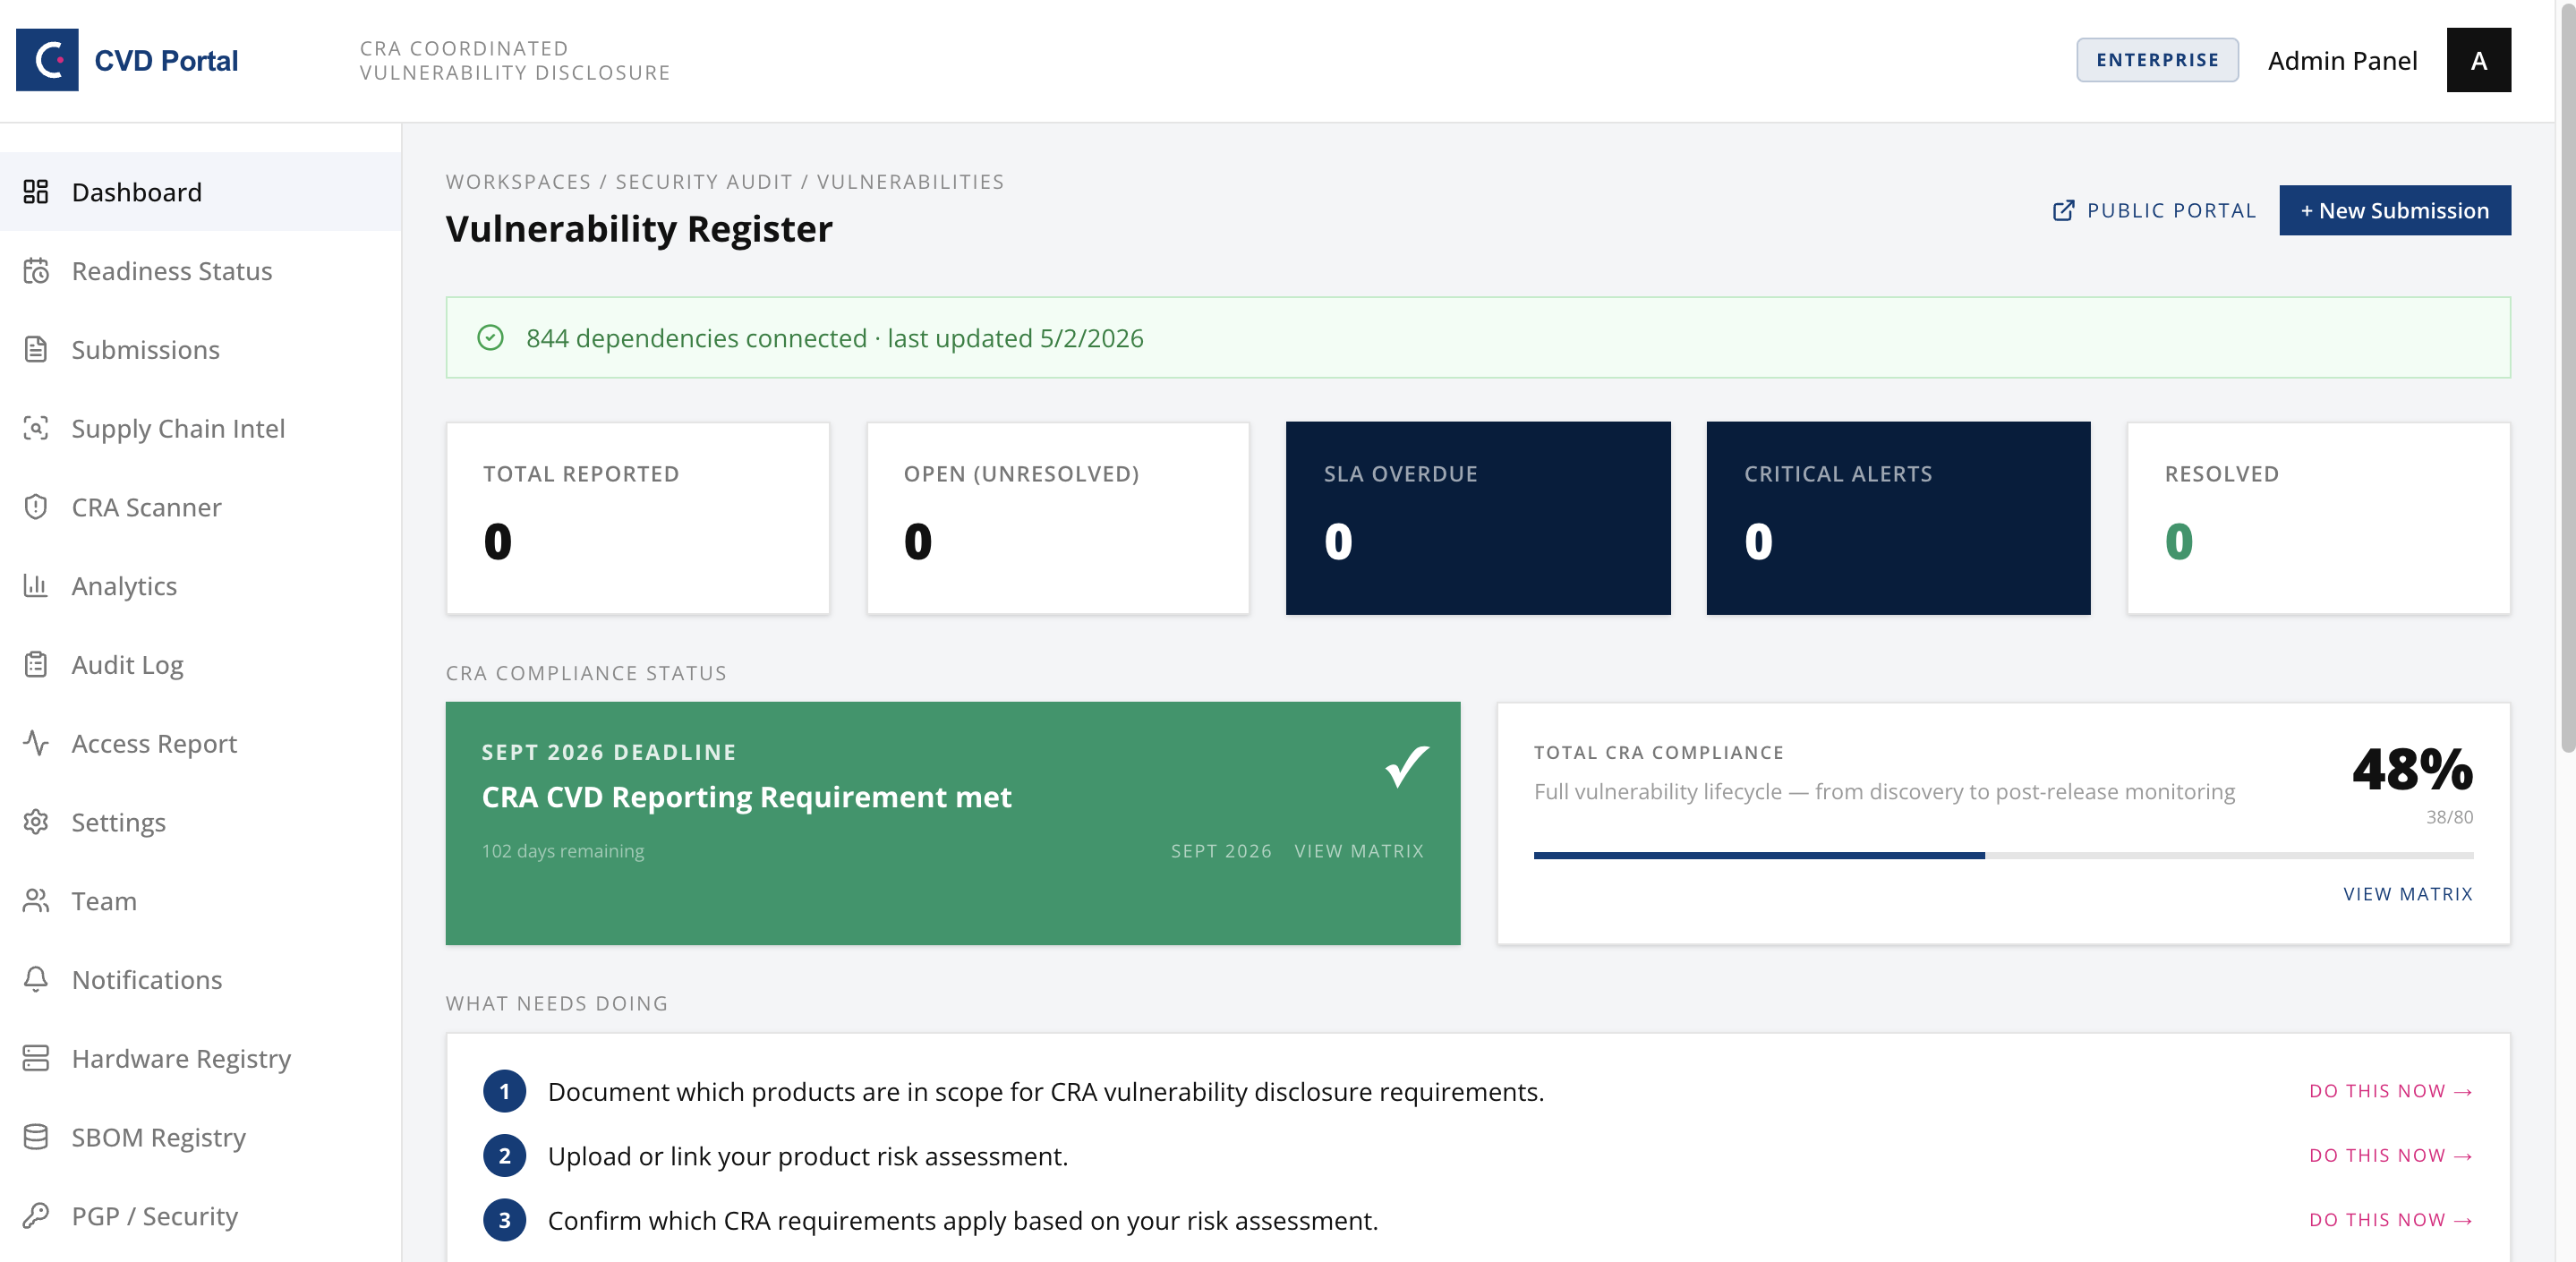
After your first sign-in, a bar at the top of the dashboard asks for your role. An admin also sees the questions How do your products reach the EU market? and How did you first hear about us?, and the field Company name. Researchers see this name on your portal and in your CVD policy. Correct it if necessary, for example "Acme Power" in place of "Acmepower". Select your answers, then select Save. You answer once. Not now hides the bar for 14 days on that browser. The answers help us fit CVD Portal to your work and show us how teams find it. A client of a reseller partner is not asked how they heard about us. The answers do not change your Article 14 routing, which comes from the place of establishment in step 2. A new company name does not change your portal address.
2. Set up your security contact and Article 14 details
After you sign in for the first time, CVD Portal opens Settings with the panel Set up your security contact and Article 14 details. This task is step 3, vulnerability handling and reporting. The Get started checklist on the dashboard shows the four steps in order and marks step 3 as the next task. Use the Company Profile form below the panel, then select Save once.
One exception applies. If you signed up from a trial button, the product classifier or a template page, CVD Portal opens Products first so you can add your first product. The security contact and Article 14 task stays first in the Get started checklist. A signup from a free portal button, or with no button, opens Settings as described above.
- Security contact. Researchers use this address. It shows on your disclosure page at
[slug].cvdportal.comand in yoursecurity.txt. If you leave Public Security Contact empty, the portal uses your login email. Use a shared inbox, for examplesecurity@yourcompany.com. To change the address, select Public Security Contact in the panel. The page goes to the field. While the address is your login email, Go to the form also goes to this field. - Place of establishment. This is where your company has a real, stable presence in the EU, for example an office or a branch. Your main establishment is where you take most decisions about the cybersecurity of your products. If you cannot tell, use the EU establishment with the most employees (Article 14(7)). The country where you registered the company is not automatically the answer.
- Company outside the EU, for example in the UK. Select Not established in the EU. You can appoint an authorised representative, but the CRA does not make you do this (Article 18(1)). An authorised representative is a person or company in the EU that you appoint by a written mandate. Your importer or distributor is not your authorised representative unless you gave them that mandate. With no representative, Article 14(7) uses, in this order, the Member State of your importer, then of your distributor, then where most of your users are. Select that route in the form.
- Your CSIRT. The form shows the national CSIRT that receives your Article 14 reports. The step is complete when a CSIRT shows.
How Article 14 reporting works here. For an actively exploited vulnerability or a severe incident, you send an early warning in 24 hours and a notification in 72 hours. CVD Portal prepares the report package and checks the mandatory fields. A person from your company files it on the ENISA Single Reporting Platform (SRP), with an EU Login account. ENISA has no API, so CVD Portal cannot file for you. Create the EU Login account now, not during an incident. The full procedure is in Filing an Article 14 Report.
To do this later, select Skip for now, go to dashboard. The task stays first in the Get started checklist.
3. Classify your first product
When your CSIRT shows, the panel links to Products. Add your first product to get its CRA class and conformity route. This is step 1, scope and classify. It needs the Compliance plan, which your 14-day trial includes. After step 1, the checklist gives you step 2, gap analysis, and then step 4, SBOM. On a plan without product classification, the checklist links to the free classifier and the free self-assessment.
4. Set up your workspace
The portal makes your slug from your email domain when you sign up. For example, name@acme-corp.com gives acme-corp. The slug becomes your public reporting address at acme-corp.cvdportal.com. You cannot change it in Settings. Check your company name under Settings → General. Invite teammates as Member, Admin or Auditor under Settings → Team. A logo for a whitelabel portal requires the Enterprise plan.
5. Publish your CVD policy
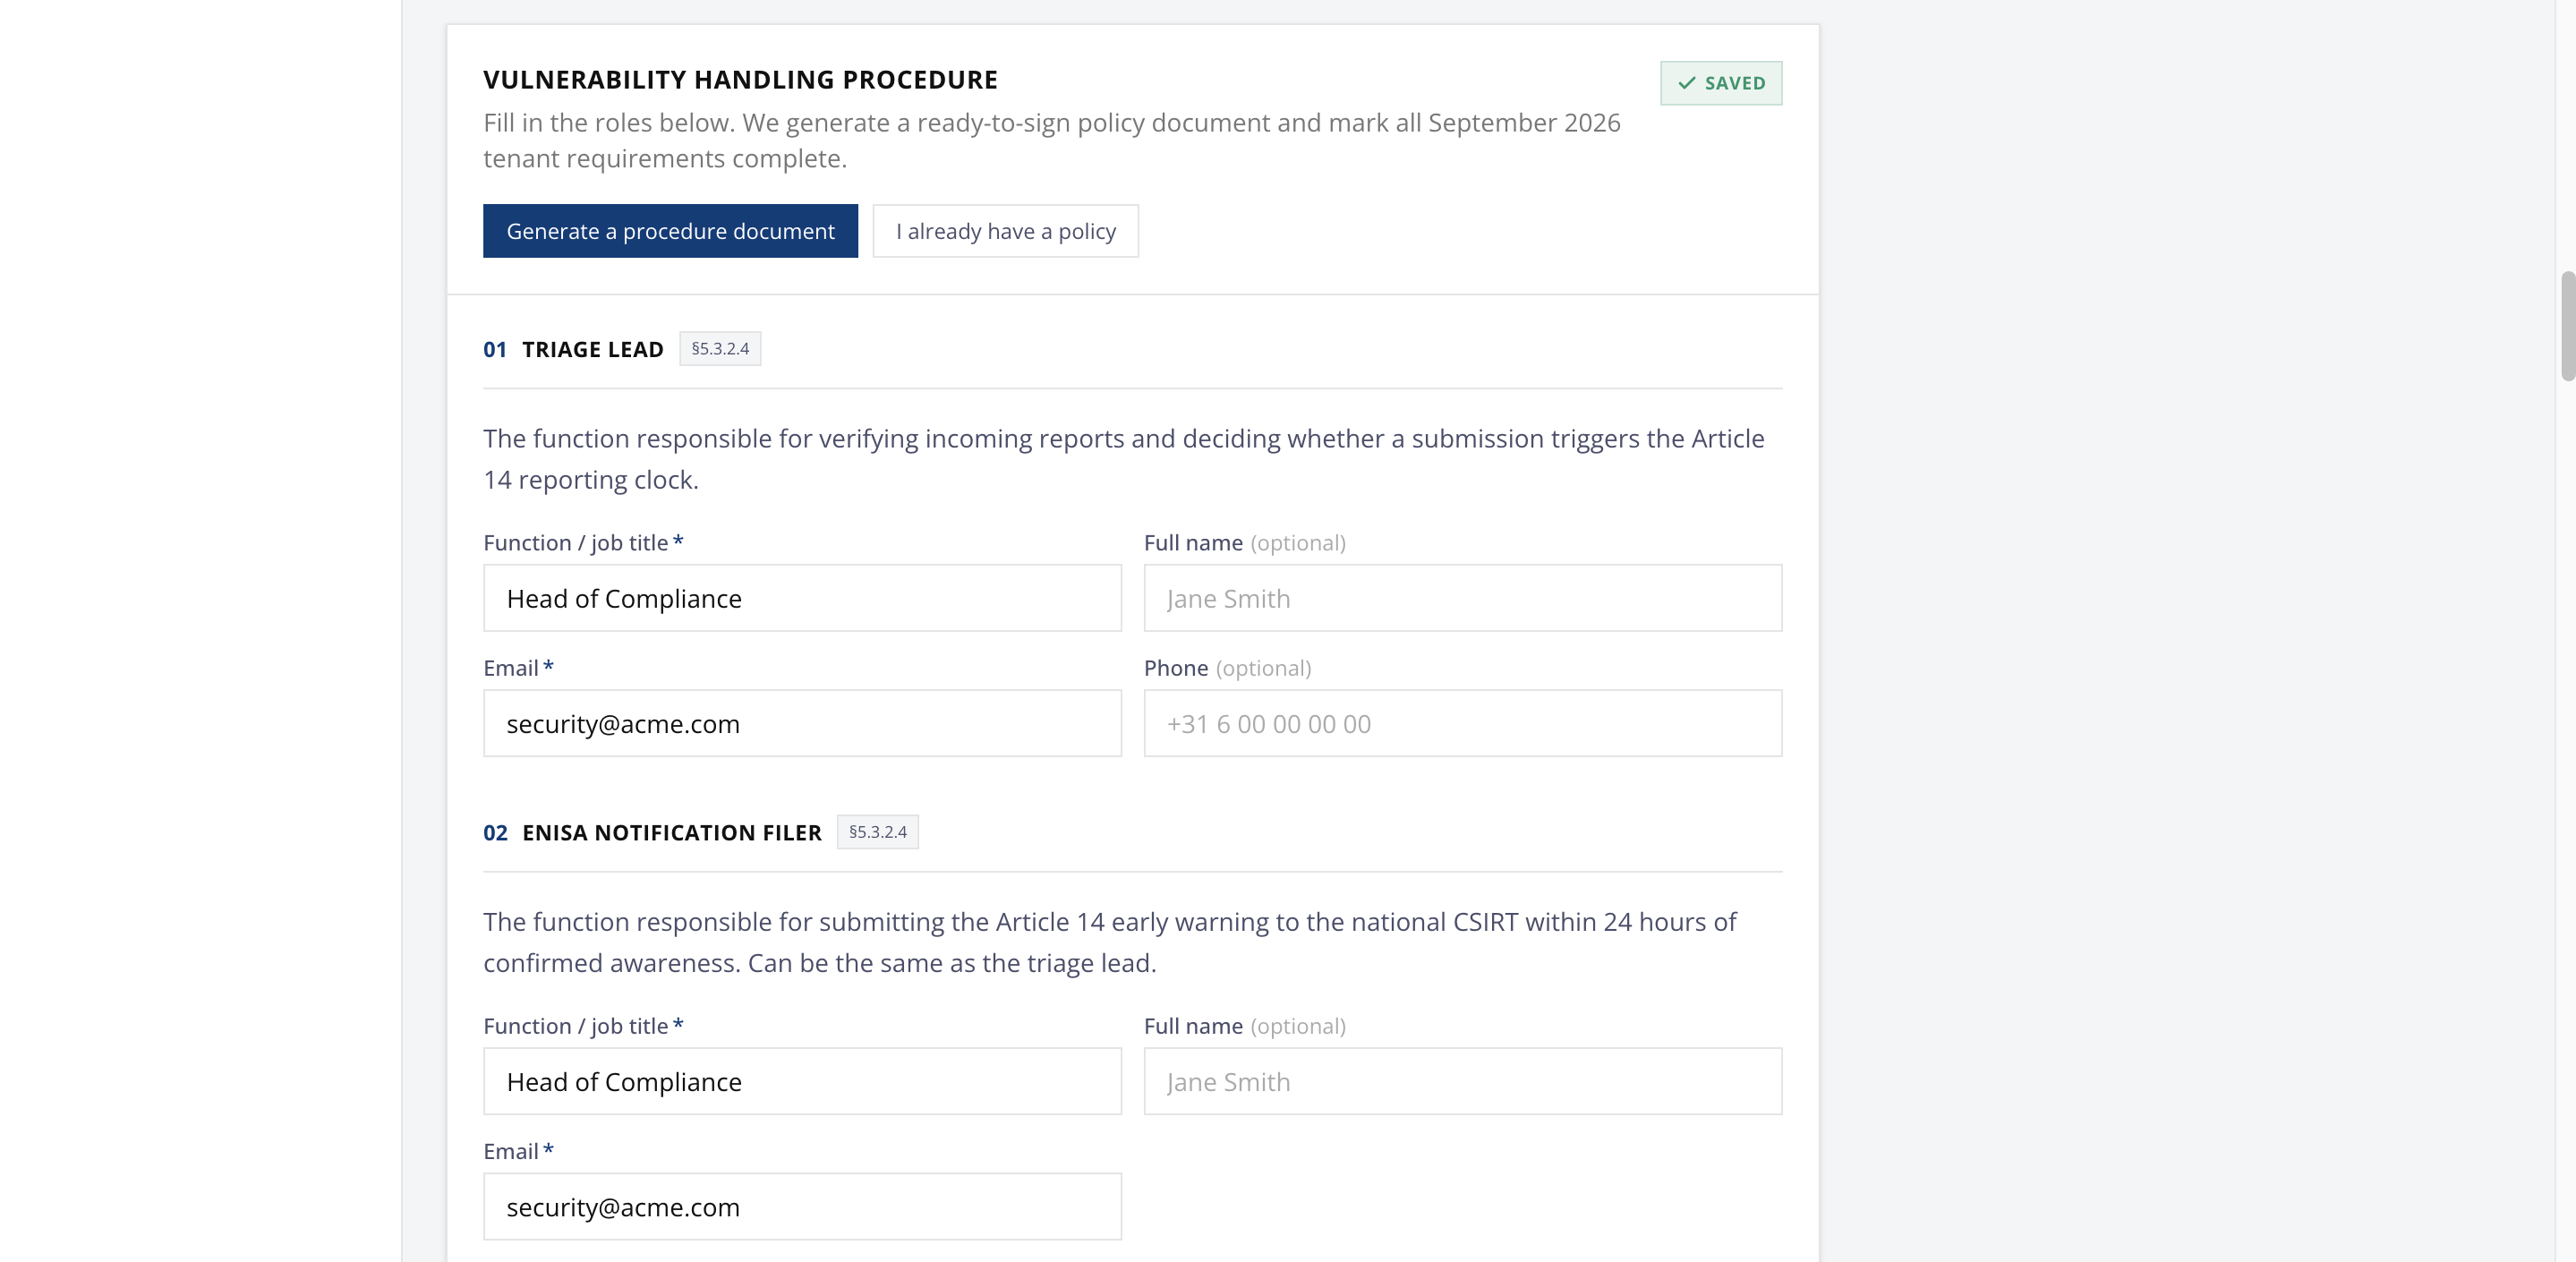
The portal publishes a default CVD policy. To change it, edit the policy text under Settings → PGP / Security. The portal generates a matching security.txt so your disclosure contact is discoverable per RFC 9116.
6. Share your portal
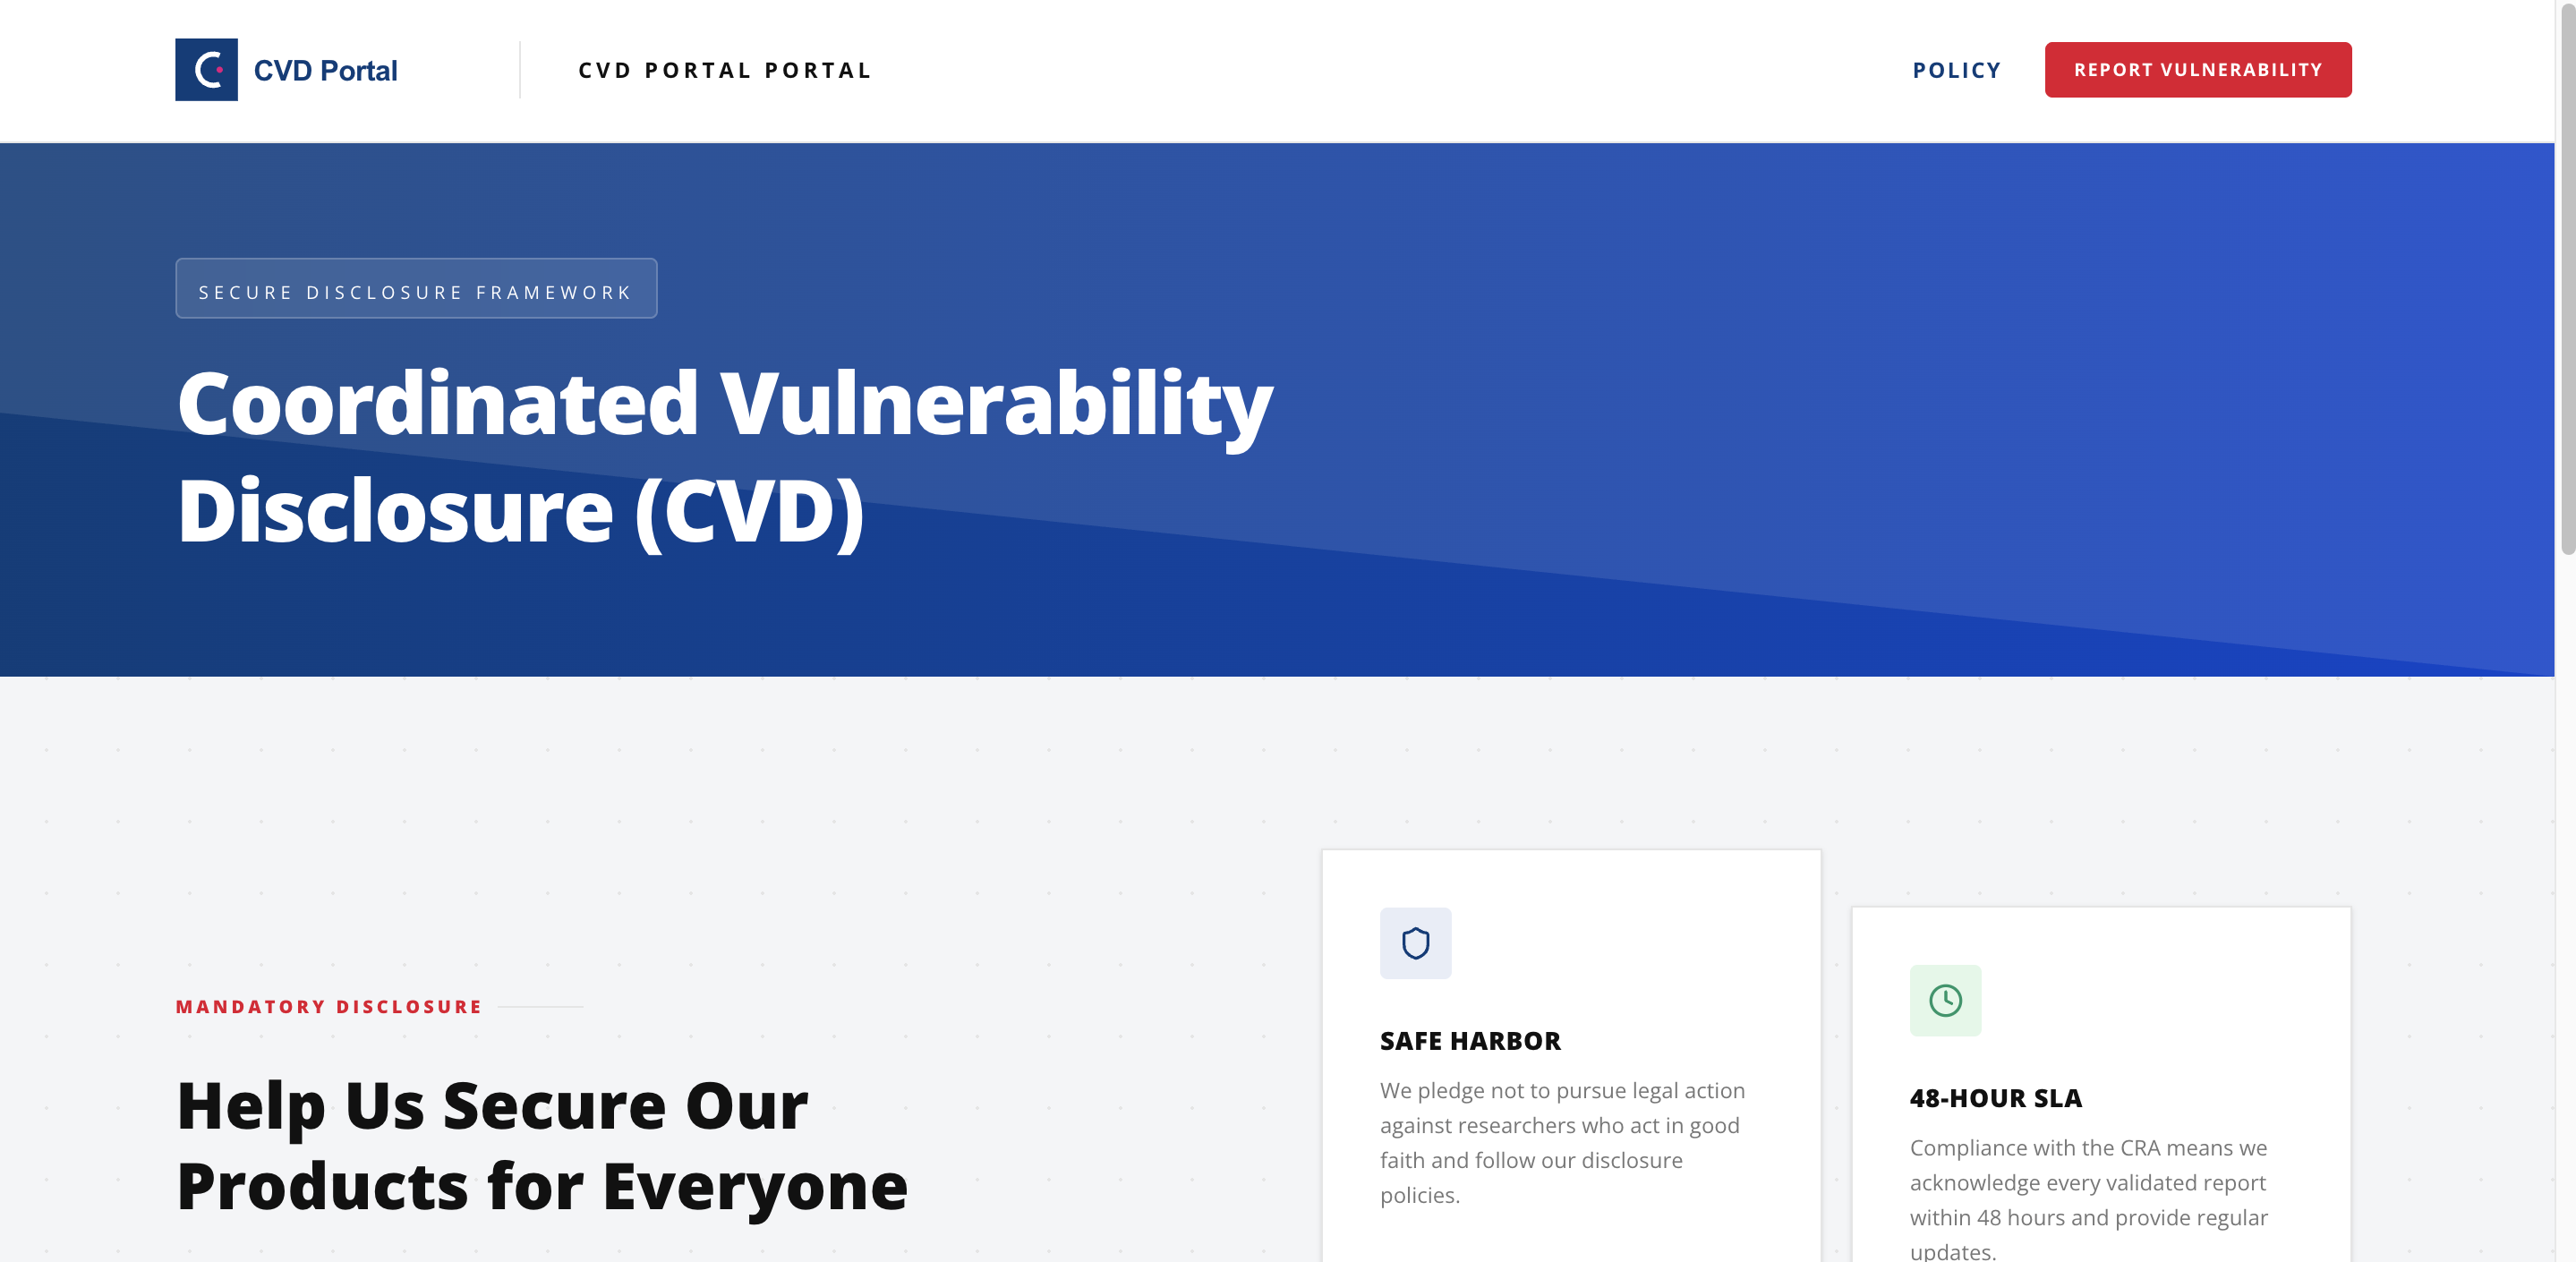
Link to your public portal from your corporate website and your security.txt file. Researchers submit reports there, and your team triages them from the dashboard with a full CRA audit trail.
Key areas of the app
- Dashboard (https://cvdportal.com/dashboard). Overview of open submissions and compliance status.
- Submissions (https://cvdportal.com/submissions). The inbox for vulnerability reports.
- Analytics (https://cvdportal.com/analytics). Reporting trends and response metrics (PRO).
- Supply Chain Intel (https://cvdportal.com/threat-intel). NVD advisories for the vendors you watch and OSV matches for your SBOM, with KEV, EPSS and sightings from GCVE, which CIRCL operates (Reporting).
- CRA Scanner (https://cvdportal.com/settings/scanner). The CRA Exposure Scanner probes your domains for security.txt and CVD policy presence (Compliance).
- CVD Readiness (https://cvdportal.com/readiness). Vulnerability handling readiness. The Overview tab shows the September 2026 Article 14 status. The Procedure, Reporting channel, Groundwork and Roadmap tabs each hold one task. Per-product CRA conformity readiness is on the CRA Portal Overview (https://cvdportal.com/cra-dashboard).
- Settings (https://cvdportal.com/settings). Branding, custom domain, team, notifications, SLA policies, SBOM, hardware registry, integrations, API keys, audit log.
- Billing (https://cvdportal.com/billing). Plan management.
- Feedback (https://cvdportal.com/feedback). Send feedback or a support request to the team.
Where to do X in the app
- Check your September 2026 CRA readiness: CVD Readiness (https://cvdportal.com/readiness). Complete the Vulnerability Handling Procedure: https://cvdportal.com/readiness/procedure. Confirm your published reporting channel: https://cvdportal.com/readiness/reporting-channel.
- Track the December 2027 CRA obligations and attach evidence: CVD Readiness, Groundwork tab (https://cvdportal.com/readiness/groundwork).
- File or prepare an Article 14 report (24h early warning, 72h notification, final report): open the relevant report in Submissions (https://cvdportal.com/submissions) and use its Article 14 action.
- See who did what, when (append-only compliance trail): Settings → Audit log (https://cvdportal.com/settings/audit-log).
- Generate a CSAF advisory for a fixed vulnerability: open the submission in Submissions (https://cvdportal.com/submissions).
- Manage your plan or upgrade: Billing (https://cvdportal.com/billing).
Plans
CVD Portal has four plans: Free, Reporting, Compliance and Enterprise. A new company starts with a 14-day trial of the Compliance plan. Reporting adds analytics, CSAF export, SBOM, hardware registry, monitoring sources, obligations drafting, security reviews, more team seats, and threat intel. Compliance adds the CRA self-assessment, the CRA scanner and the exposure search. Enterprise adds API access, integrations, EUDI wallet identity features and the trust portal. Upgrade under Billing (https://cvdportal.com/billing).